Welcome music creators! Today, we’re diving into the rhythmic heart of audio production with GarageBand, a staple tool for musicians and podcasters alike. Have you ever needed to speed up a track in GarageBand? Whether for creative expression or to align with a certain musical tempo, speeding up your tracks can inject new life into your projects. We understand the challenge of finding the right balance within a mix, and that’s precisely why we’re here to guide you through the process of GarageBand track speed up.
GarageBand offers a user-friendly interface paired with robust features, enabling you to perform a GarageBand tempo adjustment with ease. Throughout this tutorial, we will explore the nifty tools at your disposal within GarageBand’s digital audio workstation (DAW), from handy keyboard shortcuts to the precise control offered by enabling Flex Time. So, let’s get in the groove and learn how to accelerate your audio for that perfect rhythmical impact!
Understanding the Basics of Track Speed in GarageBand
We understand how essential tempo control is for your musical projects, which is why it’s important for us to explore how to effectively increase track speed in GarageBand. In-the-know music producers leverage this feature to adjust the energy and feel of their songs, syncing them perfectly with their creative vision. As you begin changing track speed in GarageBand, you’ll find it’s not just about the numbers—it’s about capturing the precise beat to make your track pop.
Getting familiar with GarageBand track speed basics starts with understanding the term BPM—beats per minute—which is the standard measurement for tempo in music. By default, GarageBand sets the tempo at a moderate 120 BPM, a middle ground that caters to a variety of music styles. However, whether you’re crafting a high-energy dance number or an uptempo pop hit, adjusting this setting can dramatically alter the mood and drive of your piece.
Manipulating the track speed encompasses adjusting the tempo for entire projects or fine-tuning individual sections of a song. This might include, for example, giving a chorus an extra burst of speed to raise the excitement, or slowing down a bridge for emphasis. When you need more detailed timing edits, GarageBand’s Flex Time feature is a powerful ally, allowing for precision tweaks to the timing of specific audio regions without affecting the whole track. Thus, our understanding of these fundamentals empowers us to mold our tracks into the perfect tempo narrative for our musical endeavors.
Getting Started with Track Speed Adjustments
As we delve into the mechanics of speeding up a track in GarageBand, our first order of business is to grasp the initial steps of managing your project files. The process of opening tracks in GarageBand is the gateway to a world of tempo adjustments and editing options.
Opening Your Track in GarageBand
Starting with the basics, opening your track in GarageBand couldn’t be more straightforward. The swift act of pressing ‘E’ on your keyboard initiates the Editor function, unveiling the track’s individual components laid out for your editing pleasure. Alternatively, a simple double-click on the audio file springs into action the very same editing environment, rich with possibilities. The Scissors icon, much like its real-world counterpart, is your tool for precision and detail; clicking it within GarageBand reveals the cut and slice options for track manipulation. And for those who prefer a methodical approach, selecting “View” and then “Show Editor” from the top toolbar commands the display of the comprehensive GarageBand track editor.
Accessing Track Editor Overview
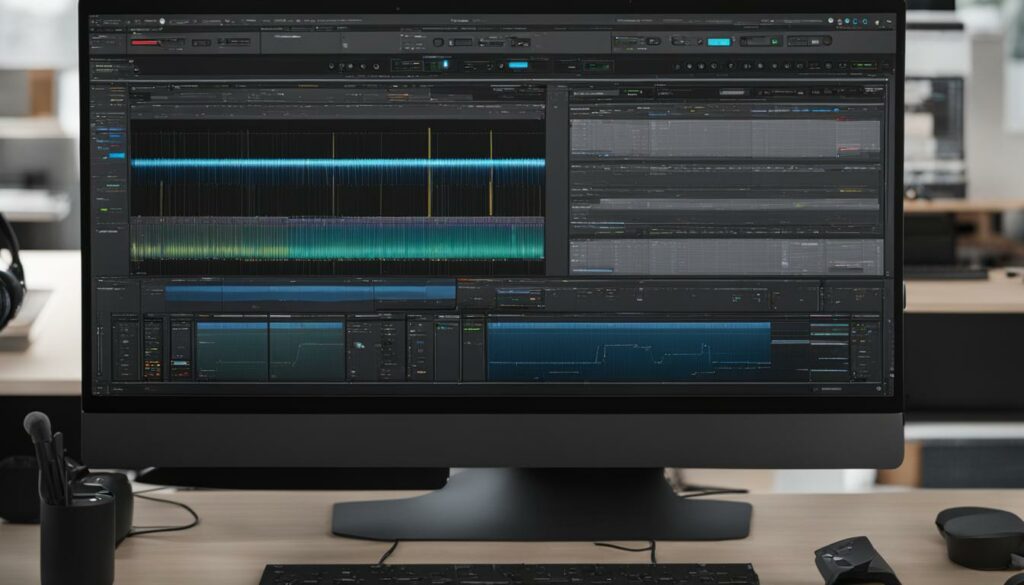
With your audio file open, the landscape of GarageBand’s Track Editor unfolds before you. Herein lies the playground where creativity and technology waltz in tandem. It is in the Track Editor where one’s vision for speeding up audio in GarageBand begins to crystallize, shaping the pace and rhythm of your musical narrative. This interface is our command center for speed adjustments, where we wield the power to enrich our auditory creations with increased momentum.
Enabling Flex Time for Precise Speed Control
The true finesse of precise speed control in GarageBand lies within the realm of GarageBand Flex Time. A tool of surgical precision, Flex Time reveals its prowess when enabled, granting you the alchemist’s power to compress or expand the very fabric of audio time without inflicting harm or degradation to the track’s quality. To engage this feature, we simply activate the “Enable Flex” option, laying the foundation for custom timing alterations and embarking on the path toward immaculate tempo refinement.
In our quest to speed up a track in GarageBand, equipping ourselves with knowledge of these foundational tools and features is essential. They serve not just as stepping stones but as the very keystones of skillful audio manipulation. Now, let us move forward with confidence, as we harness the power of GarageBand to orchestrate the pace of our musical compositions.
Speeding Up Your Entire Project Using the Tempo Display
When engaging with the rich features of GarageBand, we often encounter scenarios where it becomes imperative to accelerate the track in GarageBand. One key aspect of this process is learning how to adeptly adjust the entire project tempo in GarageBand. The tempo display plays a pivotal role in this, as it is conveniently nestled between the playhead position and the song’s key signature—a position that makes it readily accessible for quick tempo adjustments.
Our approach to raising the project’s BPM is twofold. Firstly, one can simply double-click on the tempo display and input a new BPM value, customizing the project’s speed to fit our creative intent. This method is intuitive and precise, immediately reflecting the new tempo across the entirety of our ongoing work within GarageBand.
Alternatively, should we favor a more hands-on adjustment, the tempo display allows us to click and drag with our cursor, gently gliding to the desired BPM. This method provides a tactile experience, as we visually monitor the tempo increasing in real-time—an essential technique for speed adjustments in compositions.
We understand the importance of rhythmic precision in music production and how vital it is to accelerate a track in GarageBand in a manner that complements the tonal narrative of your project. Whether you’re an aspiring music producer or a seasoned creator, mastering the tempo display is integral to the production process, providing a gateway to tempo mastery within your musical endeavors.
Remember, tempo sets the heartbeat of our musical creations, and GarageBand facilitates the control of this vital element, enabling us to articulate the exact pace required for any given project. As we continue our journey of audio exploration, let’s leverage the tempo display with confidence, ensuring our tracks resonate with the exact speed and energy they are intended to convey.
Adjusting the Speed of An Individual Track
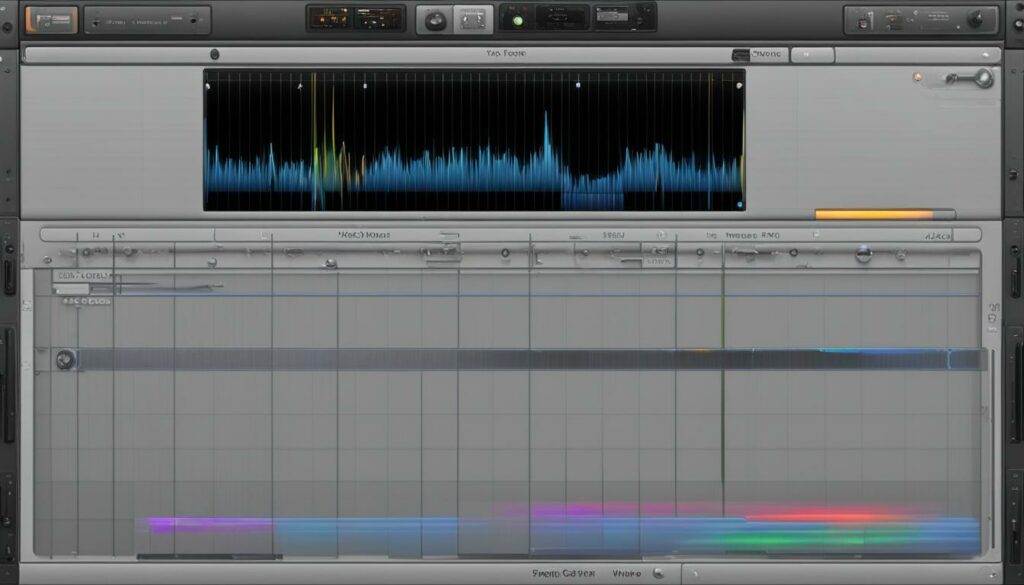
As we cultivate our mixes in GarageBand, we occasionally confront the need to speed up a single track in GarageBand without altering the overall tempo of our project. This kind of individual track tempo adjustment requires a creative workaround, given the collective nature of GarageBand’s tempo controls. By isolating the track and applying tempo changes in a fresh setting, we maintain the integrity of the original composition while achieving the desired acceleration of a specific component.
Step One: Solo the Track
Our initial move involves the ‘Solo’ feature, which allows us to focus on the track in question by muting all others. By doing so, we ensure that when we export, only the desired track is included, laying the groundwork for our individual track tempo adjustment.
Step Two: Export the Soloed Track
Next, we navigate to the ‘Share’ menu within GarageBand and opt for the ‘Export Song to Disk’ option. We choose a lossless format such as AIFF or WAV to retain the track’s pristine audio quality during export—a crucial step for professional-sounding results.
Step Three: Start a New Project
We then initiate a new GarageBand project, the blank canvas where our previously exported track will undergo its transformation. The fresher project’s sole purpose is to serve as the testing ground for our track’s tempo modification.
Step Four: Adjust the BPM
In this new project environment, we boldly increase the BPM to the desired tempo, turning the knobs of time to imbue our track with increased velocity. Here, we witness the soloed track gaining the rhythmic uplift we seek.
Step Five: Re-export the Adjusted Track
Following the tempo alteration, we export the newly accelerated track, once again employing the ‘Export Song to Disk’ functionality. We now possess an audio file that encapsulates the heightened pace set within the sterile confines of our secondary GarageBand environment.
Step Six: Reinstate the Track
Finally, we return to our original project, where the ensemble of tracks awaits. With the reintroduction of the expedited audio file, now adjusted independently, the composition reclaims its full structure—each track synchronized, yet unencumbered by the tempo tweaks of its peers.
The technique we’ve traversed is an ingenious detour by which we speed up a single track in GarageBand, circumventing the application’s default collective tempo behavior. Through this methodical process, we possess the capability to subtly—or dramatically—alter the pulse of individual tracks within our musical constellations, without compromising the rhythmic balance of the entire piece.
Using the Tempo Track for Gradual Speed Changes
When we further our foray into the intricacies of GarageBand’s capabilities, an invaluable resource awaits our utilization—the GarageBand tempo track. It is here where we can envisage a symphony of movements, as the tempo track empowers us to implement precisely nuanced speed changes through the adept addition and management of tempo points.
Adding and Managing Tempo Points
Mastering the art of adding tempo points in GarageBand enables us to establish control, dictating the narrative of our track’s pace. We carefully insert tempo points on the track, each serving as a musical signpost for when and where the speed should rise or fall. It’s a conversation between us and the music, where we say, ‘Here, take a breath, and now, surge forth with vigor.’ The process is akin to drawing a roadmap for the song’s rhythm, where we define the journey’s tempo landmarks.
Crafting a Smooth Transition Between Tempos
In our pursuit of smooth tempo transitions in GarageBand, we discover the subtlety of musical dynamics. To weave these transitions seamlessly, we place additional tempo points with a craftsman’s precision. Adjusting the gradient of the visual tempo line allows us to mold the speed, easing the track into a gradual crescendo or decrescendo, ensuring that each transition flows naturally, like the ebb and flow of the tides.
Automating the Process for Consistent Quality
Our commitment to delivering a polished auditory experience leads us to embrace tempo automation in GarageBand. Automation not only harnesses consistency but also guarantees the quality of our speed adjustments. By setting precise automation points on the tempo track, we take the helm, conducting the tempo to our desired speed with confidence. This also removes the guesswork, allowing for consistent quality speed adjustments—the hallmark of any accomplished audio production.
Such tools at our disposal within GarageBand democratize the art of music production, offering us the freedom to sculpt the pace of our audio canvas with granular detail. Through the strategic use of the tempo track, crafting smooth transitions, and employing tempo automation, we unlock the capability to breathe life into musical pieces that not only sound good but also feel right, rhythmically attuned to our artistic vision.
Speeding Up a Track in GarageBand with Flex Time
When we venture into the world of music production with GarageBand, one tool emerges as both powerful and intricate: GarageBand Flex Time. A staple for any music producer looking to perfect the timing of their tracks, Flex Time is akin to a scalpel for the audio surgeon. With the awaking of this feature, we delve into the realm of time stretching in GarageBand, transforming the very heartbeat of our music.
Our journey begins with the selection of an audio region ripe for transformation. With Flex Time, we’re not only speeding up tracks with GarageBand Flex Time—we’re reimagining the flow of our creative piece. Picture the audio waves as a malleable substance; our task is to make subtle incisions and strategically place our flex markers down upon these waves.
Grasping the flex marker firmly within the GarageBand interface is where our true work begins. Here, we make a pivotal decision: dragging it left, compressing the time between transients, pumps a shot of adrenaline into our track, speeding it up to match the vibrancy we seek. Conversely, pulling it right stretches the moment out, granting the audio a slower, more deliberate pace.
Invoking the power of GarageBand Flex Time becomes second nature as we pursue that ideal tempo, haven wherein our creative vision translates from mere thought to auditory reality. We manipulate these markers to infuse our tracks with a kinetic force that drives forward the ebb and flow of musical storytelling.
Our pursuit is clear, our tools at the ready. As we engage with GarageBand Flex Time, our tracks no longer conform to the constraints of standard rhythmic structures—they evolve, they grow, they accelerate. And with these capabilities firmly in hand, the tracks under our stewardship transcend, echoing with the precision and fervor of our musical aspirations.
The Role of Third-Party Plugins for Tempo Adjustment
While GarageBand brings a lot to the table in terms of accessible audio production, there are instances where we strive to push beyond its built-in capabilities. This is where third-party plugins for GarageBand become a potent force within our music-making arsenal. By augmenting the default toolset with specialized speed alteration plugins, we not only enhance the versatility of our workspace but also imbue our projects with a richness that only professional-grade elements can provide.
Choosing the Right Plugin for Speed Alterations
Embarking on the quest to enhance GarageBand with plugins starts with a critical decision: choosing the right plugin for the job. Given the plethora of options available, our priority lies in selecting a speed alteration tool that aligns seamlessly with our creative objectives. Many contemporary music producers eye plugins that offer versatility—the capability to articulate tempo changes not just with a slider but with the power to input exact, numeric BPM values. This specificity empowers us to sculpt our audio with a precision that truly reflects our envisioned tempo landscape.
Integrating Plugins Into Your GarageBand Workflow
Once the ideal speed alteration plugin has been pinpointed, our next step is integration — a blend of technical know-how and workflow optimization. The integration process often conjures up visions of complexity, but fear not; GarageBand’s architecture caters to a user-friendly plugin installation experience. By integrating plugins into your GarageBand workflow, we ascertain a fusion where convenience meets advanced functionality. It’s akin to equipping our sailboat with a state-of-the-art navigation system — suddenly, the vast ocean of audio production feels a lot less daunting and a ton more navigable.
Our creative journey within GarageBand, bolstered by these strategic additions, positions us confidently at the helm. With the newfound depth and control provided by quality third-party plugins, the vistas of musical possibility expand exponentially. Together, let us tap into this realm of heightened potential and craft tracks that truly resonate with our artistic intuition.
Speed Adjustments for Different Genres: Tips and Techniques
When we dive into the depths of music production, it becomes clear that each genre carries its heartbeat, its rhythmical signature that calls for specific tempo ranges. As we apply garageband tempo adjustment for genres, we step into the realm of authenticity, aligning our tracks with the rhythmic traditions that define each musical style. Our task is not just to alter the speed; it’s to honor the genre conventions, whether we are laying down a laid-back reggae groove or firing up a blistering drum and bass beat.
To achieve genre-specific track speeding, our approach must be both strategic and adaptive. The languid charm of reggae, for example, tends to thrive within a leisurely 60-90 BPM, while the pulsating energy of house music usually finds its stride between 118-135 BPM. As we tailor the tempo in GarageBand, these rhythmic guidelines serve as lighthouses, ensuring our creative exploration stays true to the genre’s navigational stars.
Die-hard hip-hop aficionados would attest to the genre’s sweet spot lying between a laid-back 85 and a lively 115 BPM. Pop music, on the other hand, dances freely from 100 to 130 BPM, letting its melodic hooks shine. When we embark on garageband tempo adjustment for genres, we are not just tweaking numbers—we are architecting an experience, a feel that resonates with listeners and respects the genre’s roots.
The thrill of metal and the rebellion of punk, demand tempos that can skyrocket anywhere from 100 to a thunderous 160 BPM, pushing the limits of intensity. Each time we engage with genre-specific track speeding, we’re not merely editing; we’re bringing forth the essence of the style, creating a pulse that listeners will instantly recognize and connect with.
With GarageBand, the ability to refine and speed up tracks according to genre becomes an accessible reality. However, it is our deep understanding of these tempo landscapes that will ensure our tracks don’t just sound good, but feel right, keeping the spirit of the music genre alive and kicking within every beat.
Saving and Exporting Your Adjusted Tracks for Further Use
After we’ve put in the meticulous work of tweaking and perfecting the tempo of our tracks in GarageBand, the next essential steps are saving adjusted tracks in GarageBand and preparing them for broader use. It is here, in the final stages of our creative journey, that we transform our ephemeral art into a tangible masterpiece, ready for the world to hear.
Our first port of call is the ‘Share’ menu within GarageBand. This feature is not just a gateway but a conduit for the preservation and dissemination of our sonic endeavors. By navigating to this menu, we’re offered multiple options to save and export tracks in various formats, though we advocate for utilizing AIFF. Why AIFF, you might wonder? This format is uncompressed, ensuring that the high quality of our audio remains unsullied, primed for the most discerning ears.
To commence the exporting GarageBand tracks process, it’s as simple as selecting ‘Export Song to Disk,’ a prompt that beckons us to give our track a name, a home on our computer, and most importantly, an audio format that encapsulates the integrity of our work. Once these parameters are set, we bid our creation adieu as it embarks upon its digital voyage—perhaps destined for other projects, perhaps to grace the stages of online music platforms, or even to serve as the foundation of a future live performance.
In safeguarding these sonic gems, we’ve ensured that the fruits of our creative labors in GarageBand—be they podcasts brimming with information or musical tracks pulsating with energy—are not only preserved but also preconditioned for future endeavors. Whether integrating our audio into multimedia projects or compiling an album, these saved and exported tracks stand as the legacy of our artistic expression. And with AIFF, our commitment to quality remains unwavering, setting the standard for the sounds that shape our stories.
Finally, let us celebrate the ease with which GarageBand enables this pivotal phase of our production process. With each file saved and exported, we take a definitive step forward in our creative journey—cementing our role not only as artists but as architects of enduring audio experiences.
Efficiency Hacks for Speeding Up GarageBand Projects
As we continue to navigate the creative expanse of GarageBand, we come to understand the value of certain techniques that can remarkably streamline our audio production process. One key method to quicken track in GarageBand and thus enhance our workflow is through the skillful application of keyboard shortcuts. These time-saving combinations are essential tools in the arsenal of any adept audio engineer.
Keyboard Shortcuts for Quicker Editing
We’ve uncovered that the use of GarageBand keyboard shortcuts not only saves precious time but also facilitates a more intuitive connection between our creative impulses and the software’s functionality. For example, quickly opening the Editor with ‘E’, managing Flex Time with ‘COMMAND + T’, or revealing the Tempo Track with ‘SHIFT + COMMAND + T’, accelerates our ability to make tempo adjustments on the fly.
These shortcuts are like a conductor’s baton, granting us the power to modify the pace and structure of our music efficiently. Moreover, the memorization and habitual use of these GarageBand keyboard shortcuts ensure that we remain in a state of flow, seamlessly transitioning between different phases of music production.
Optimizing Your Workflow in GarageBand
Indeed, we recognize that optimizing GarageBand workflow goes beyond memorizing shortcuts. It’s about internalizing the software’s capabilities so deeply that every feature becomes an extension of our musical intentions. Flex Time editing, for example, is a tool that, once mastered, unlocks unparalleled flexibility for manipulating audio timing.
In addition, when we consider the GarageBand workflow optimization, we must speak of the Tempo Track – a venue for gradual, measured adjustments that breathe life into the music. Integrating these features skillfully and routinely in our workflow is the instrumental key to an efficient GarageBand project speed up.
We encourage you to view GarageBand not just as a tool, but as a partner in creation, one that responds to our commands and gestures through the timely use of keyboard shortcuts and workflow optimization. Let us continue to harness these efficiencies as we expand our sonic possibilities within GarageBand.
GarageBand Resources and Tutorials for Advanced Speed Controls
As we delve deeper into the realms of audio editing, acquiring advanced speed control techniques in GarageBand becomes essential. To further empower your journey, we uncover a trove of GarageBand tutorials that cater to those who seek greater command over their musical creations. These resources are designed to sharpen your skills, offering comprehensive guidance on tempo adjustments, Flex Time manipulation, and the integration of third-party plugins. With each tutorial, you gain the opportunity to refine your craft and explore new creative possibilities within GarageBand’s robust platform.
For music makers aiming to perfect every beat, these advanced speed control resources serve as invaluable guides. Whether you’re looking to create a sultry slow-down in a soulful ballad or an adrenaline-pumping acceleration in an electronic anthem, our carefully curated tutorials provide step-by-step instructions that cater to both novices and professionals. We understand the impact of rhythm and pace in music, and our aim is to help you achieve that flawless timing, making each track not only sound impeccable but also feel emotionally congruent to your artistic vision.
Navigating through the layered functionalities of GarageBand can be exhilarating, and with our gathered resources, your proficiency in tempo control will soar. As we explore these tutorials together, we’re not just learning—we’re becoming maestros of our musical domain. Join us on this rhythmic adventure as we tap into advanced techniques that will take our GarageBand experience to thrilling new heights.
FAQ
How do you speed up a track in GarageBand?
To speed up a track in GarageBand, open the track in the editor by pressing ‘E’, enable Flex Time, then adjust the project’s tempo in the Tempo display. If the speed change needs to be precise, show the Tempo Track with ⌘T and add automation points where you want the speed to change. For speeding up an individual track, you will need to export the track and adjust its tempo in a new project before importing it back.
Can you change the speed of an individual track in GarageBand without affecting the entire project?
Yes, to change the speed of an individual track, solo the track and export it. Then, create a new GarageBand project, import the track, adjust the BPM, and export the adjusted track. Finally, import it back into the original project.
What is Flex Time in GarageBand and how does it help with speeding up a track?
Flex Time in GarageBand is a feature that allows you to change the timing of specific notes or beats in an audio recording by adding and adjusting flex markers. It enables non-destructive time-stretching and is useful for precise speed adjustments on specific parts of a track.
How do you use GarageBand’s Tempo Track for making speed changes?
Use the Tempo Track by enabling it with ⇧ + ⌘ + T, adding tempo points on the track at the desired locations, and dragging these points to set the new tempo. This allows for gradual changes in speed and can be used to create dynamic transitions between different parts of your project.
What third-party plugins are useful for tempo adjustments in GarageBand?
Various third-party plugins can be integrated with GarageBand to provide more advanced speed and tempo adjustment features. It’s best to research plugins that are compatible with GarageBand and offer precision control for tempo changes tailored to your needs.
How do you optimize your workflow for speed adjustments in GarageBand?
Optimize your workflow by familiarizing yourself with GarageBand’s shortcuts for quick access to the Editor, Tempo Track, and Flex Time. Planning your project structure beforehand and knowing which tools to use for specific tasks will also increase efficiency.
Where can you find resources and tutorials for more advanced speed control in GarageBand?
Advanced speed control techniques in GarageBand can be learned from a variety of resources, including Apple’s own support pages, video tutorials on YouTube, dedicated music production forums, and online courses from music technology education platforms.
